This week, I had to go for my treatment at the Vanderbilt Infusion Clinic. They emailed me the day before to let me know that they would be screening me for the Coronavirus. When I arrived, there was a nurse sitting at the door. She took my temperature and asked me several questions. I was happy that they were doing it---just one more way to protect us and them.
I wore this sticker all day! Proudly! It reminded me of the button I wore as a kid: "I gave my tooth to science!" Or in recent times, "I voted!" It's kinda fun. As adults, we don't get to wear stickers much. Maybe we should change that. Everybody likes little rewards!
Anyway, on that day, I just wore a pashmina and pulled it over my face whenever I was around anybody. It was fine for that day. But I knew I needed a real mask for other situations. So, I made my own.
1. You can use any large square. We don't have any bandanas, so I used a heavy, cloth napkin.
2. Fold it in half.
3. Fold it in half again.
4. Add a rubber band to each side.
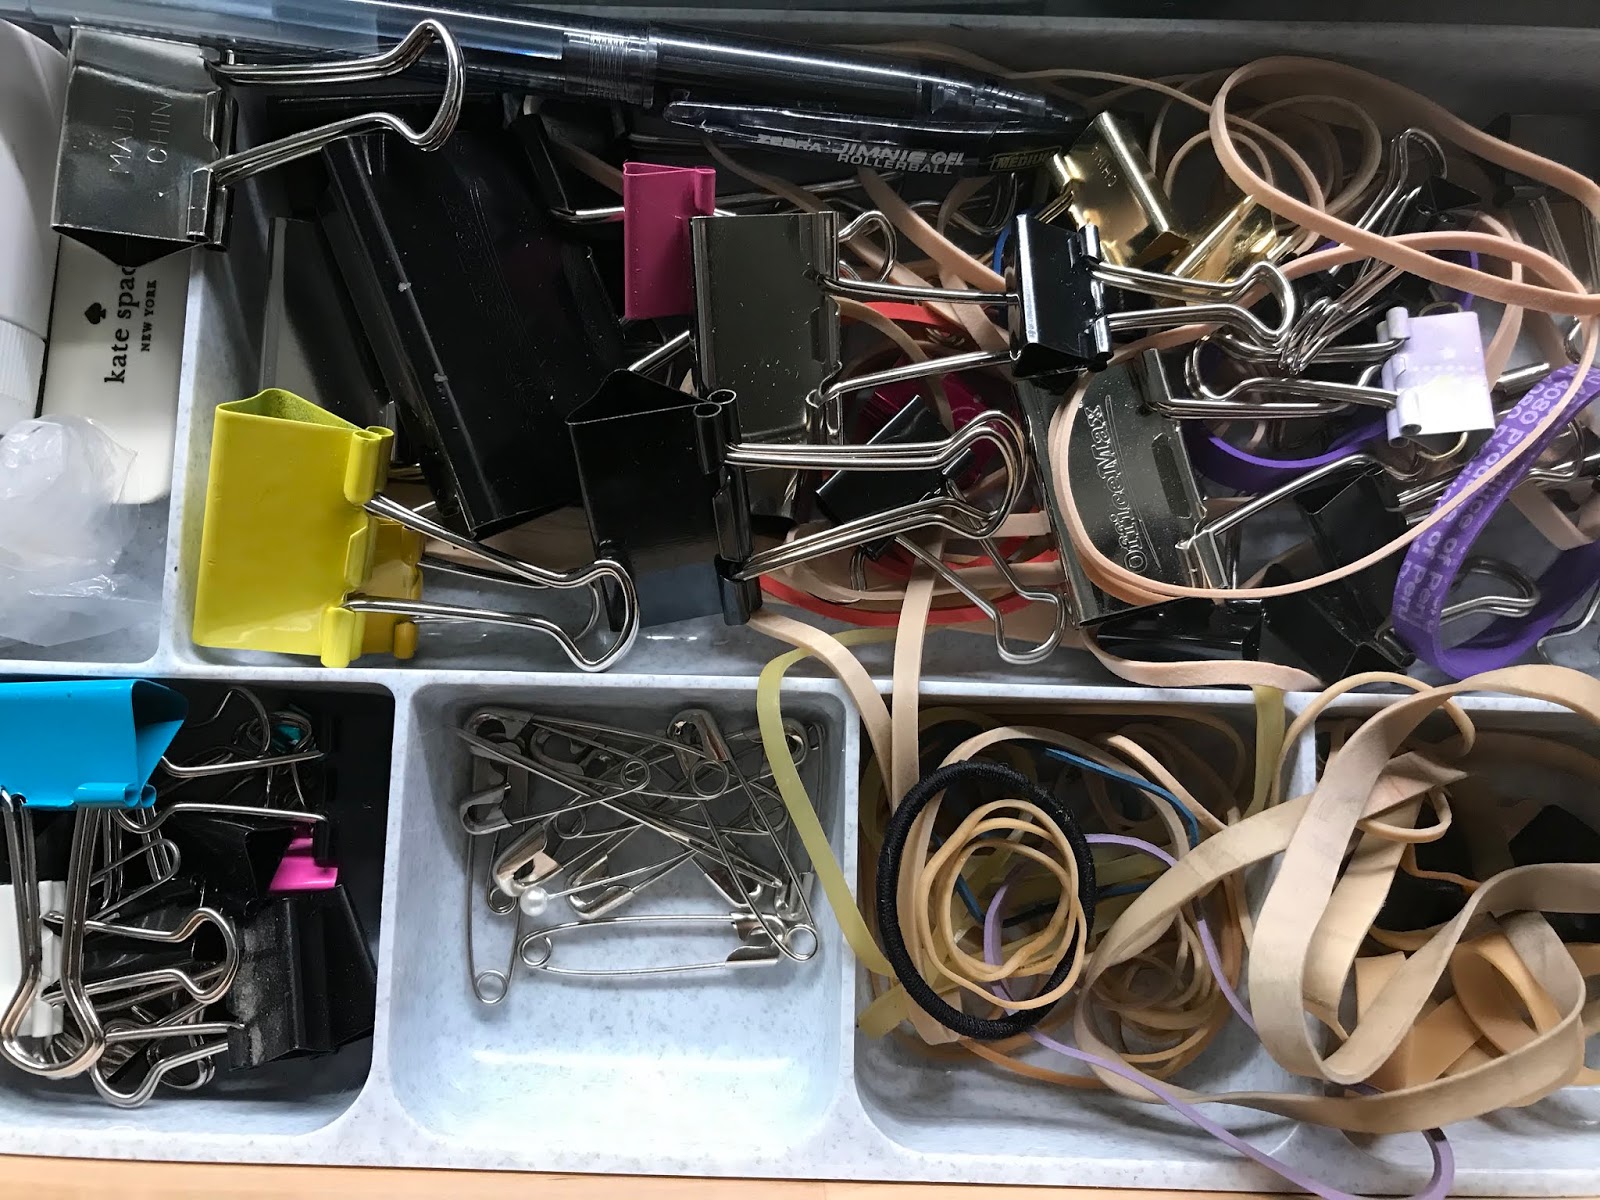
I knew those large rubber bands from the post office would come in handy one day!
5. Fold over the sides. You can tuck one side in to the other if you want, but it's not totally necessary. I wanted my mask to be comfortable and not too tight over the ears. So there wasn't much left to tuck.
Voila! A heavy mask.
I can see one problem. I'll probably obsess about matching my clothes to my mask. Butch's mask clashes with his turkey shirt! I like to call it his Thanksgiving shirt. I guess this is his way of thanking me for the cool mask!
You're welcome!


I've been sewing masks like crazy! Email me your home address if you'd like me to send you & Butch ones.
ReplyDelete